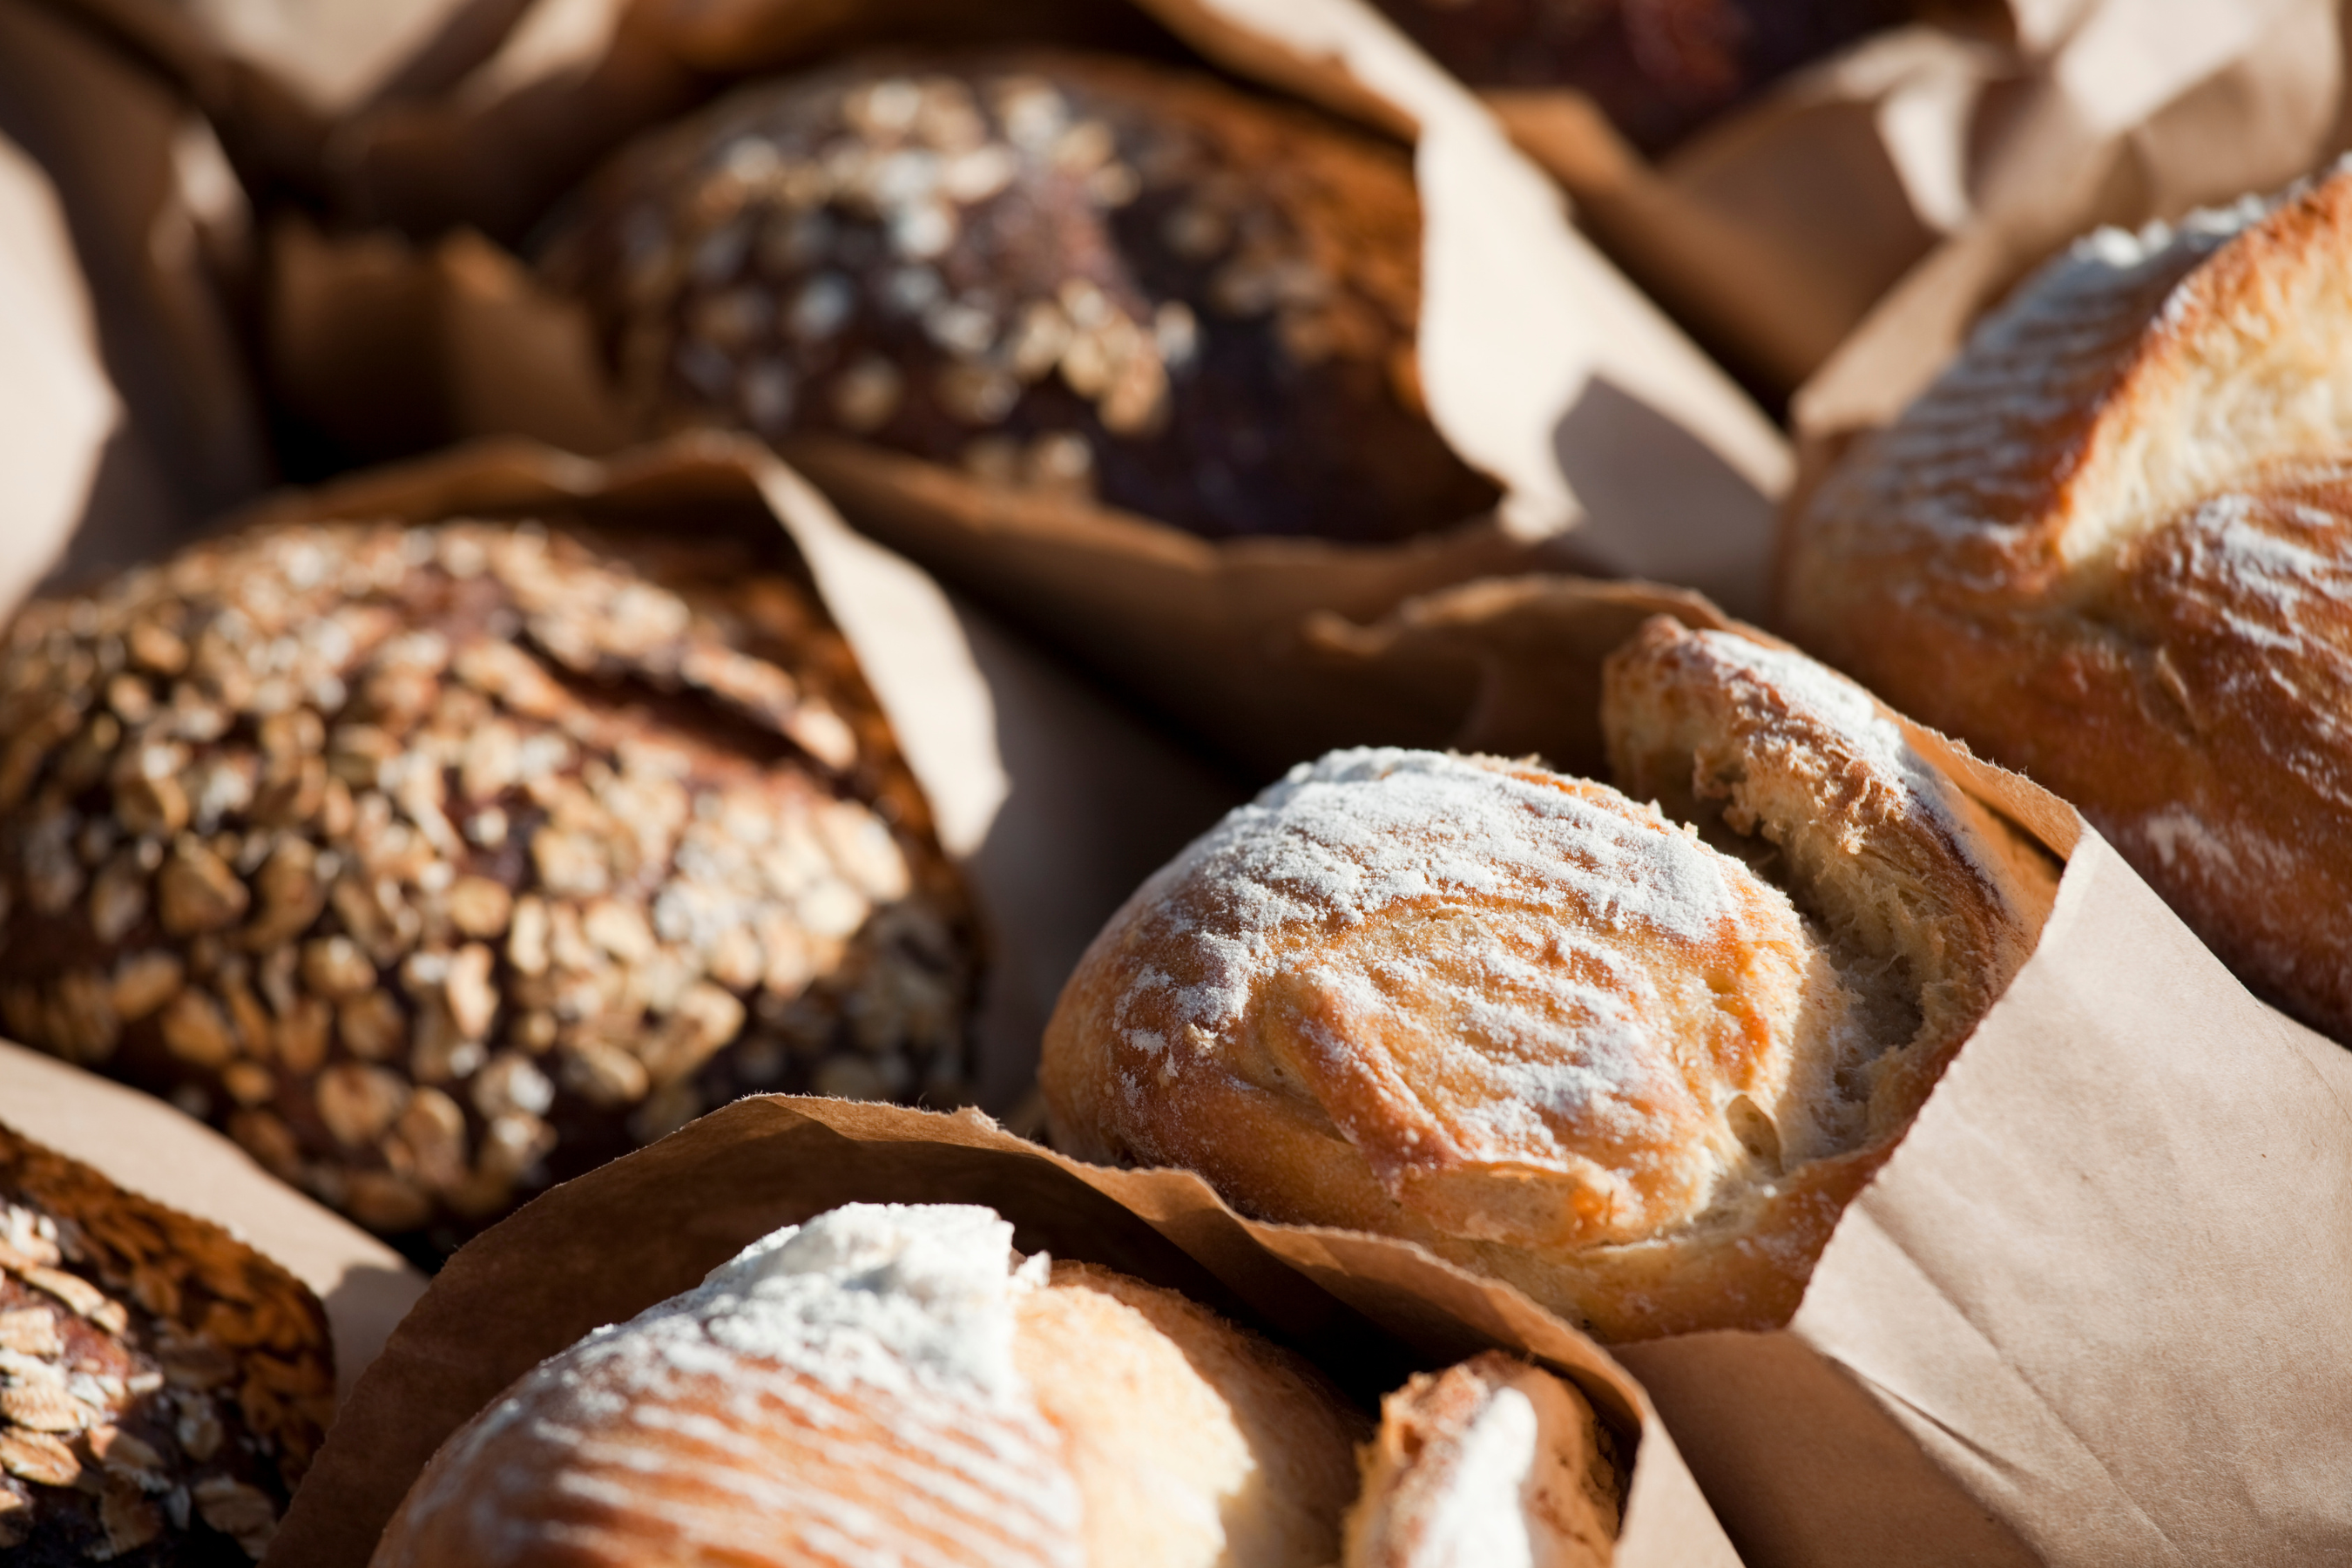
Making your own sourdough starter is an exciting endeavor that allows you to experience the magic of fermentation in your own kitchen. With just a few simple ingredients and some patience, you can create a flavorful and versatile base for all your sourdough baking adventures.
Understanding the Basics of Sourdough Starter
Sourdough starter is a natural leavening agent that replaces commercial yeast in bread recipes. It is a mixture of flour and water that undergoes fermentation, resulting in a bubbly and tangy concoction. This lively starter adds complexity and depth of flavor to your bread, making it a staple of artisanal baking.
What is a Sourdough Starter?
A sourdough starter is essentially a community of wild yeast and friendly bacteria that work together to create a lively and active fermentation process. The wild yeast present in the environment, as well as on the flour itself, colonizes the mixture and consumes the starches in the flour, converting them into carbon dioxide and alcohol.
But let's dive deeper into the fascinating world of sourdough starters. Did you know that the wild yeast and bacteria present in a sourdough starter are not just any ordinary microorganisms? They are unique to the specific location where the starter is created. This means that a sourdough starter made in San Francisco will have a different flavor profile compared to one made in Paris or Tokyo. It's like capturing the essence of a particular place in a jar of flour and water.
Furthermore, the fermentation process in a sourdough starter is not just about creating carbon dioxide and alcohol. It's a complex dance of biochemical reactions that produce a wide range of flavor compounds. These compounds include acetic acid, lactic acid, and various other organic acids, each contributing to the distinctive tanginess and depth of flavor that sourdough bread is known for.
Why Make Your Own Sourdough Starter?
Making your own sourdough starter is not only a rewarding experience but also grants you greater control over the flavor profiles of your bread. When you create your own starter, you have the freedom to experiment with different types of flour, hydration levels, and feeding schedules, allowing you to customize the taste and texture of your bread to your liking.
But the benefits of making your own sourdough starter go beyond just flavor customization. By cultivating your own starter, you can avoid the additives and preservatives found in commercial yeast. This makes sourdough bread a healthier choice for those concerned about their dietary intake. Plus, there's something incredibly satisfying about knowing that you are baking bread with nothing but flour, water, and the power of nature.
Moreover, the process of making a sourdough starter is a journey of patience and observation. As you feed and nurture your starter, you'll develop a deeper understanding of the fermentation process and the symbiotic relationship between yeast and bacteria. It's a hands-on experience that connects you to the ancient tradition of breadmaking and allows you to become a true artisan in your own kitchen.
So, whether you're a seasoned baker or a curious beginner, embarking on the journey of making your own sourdough starter is a delightful adventure that will not only elevate your bread but also deepen your appreciation for the art of baking.
Necessary Ingredients for a Sourdough Starter
Embarking on a sourdough journey is an exciting endeavor, but before you dive in, it's essential to gather all the necessary ingredients. Let's take a closer look at what you'll need:
The Role of Flour in Your Starter
Flour plays a vital role in the creation of a sourdough starter. It serves as the primary food source for the wild yeast and bacteria that will be responsible for the fermentation process. When choosing flour for your starter, it's best to opt for unbleached all-purpose or whole wheat flour.
Unbleached all-purpose flour contains more natural nutrients and microorganisms, which can greatly contribute to a healthy fermentation process. On the other hand, whole wheat flour provides additional minerals and fiber that can enhance the overall flavor and texture of your sourdough bread.
Remember, the quality of the flour you choose will directly impact the development and flavor profile of your sourdough starter. So, it's worth investing in high-quality flour to achieve the best results.
Importance of Water Quality
While flour is a crucial ingredient, water quality is equally important in maintaining a healthy sourdough starter. The water you use can significantly impact the fermentation process and the overall health of your starter.
Chlorinated tap water can have adverse effects on the fermentation process, inhibiting the growth of beneficial microorganisms. To avoid this, it's recommended to use filtered or spring water for your sourdough starter. These types of water are free from chlorine and other potentially harmful chemicals that can hinder fermentation.
Additionally, the temperature of the water is essential. Using water at room temperature is ideal as it helps create an environment that encourages proper fermentation. Extreme temperatures, whether too hot or too cold, can negatively affect the growth and activity of the wild yeast and bacteria in your starter.
By paying attention to the quality and temperature of the water you use, you can ensure that your sourdough starter has the best possible conditions for a successful fermentation process.
Step-by-Step Guide to Making a Sourdough Starter
Preparing Your Ingredients
To begin, gather your flour and water in separate containers. Measure out equal parts of flour and water by weight. For instance, you might start with 100 grams of flour and 100 grams of water.
Choosing the right type of flour is crucial for making a successful sourdough starter. While all-purpose flour works well, many bakers prefer using whole wheat flour or rye flour for their starters. These flours have higher levels of natural yeast and bacteria, which can help kickstart the fermentation process.
Combine the flour and water in a clean glass jar or container, ensuring there are no clumps of dry flour. Use a spoon or a clean hand to thoroughly mix the flour and water, incorporating as much air as possible.
Some bakers like to add a small amount of pineapple juice to their initial mixture. The acidity in the juice helps create an environment that is favorable for the growth of wild yeast and bacteria, giving your starter a better chance of success.
Mixing and Fermenting Process
Cover the jar loosely with a kitchen towel or plastic wrap, allowing air to circulate. Place the jar in a warm area of your kitchen, ideally around 70°F (21°C). It's important to avoid direct sunlight or drastic temperature changes.
During the fermentation process, the wild yeast and bacteria present in the flour and environment will start to multiply and feed on the starches. This process creates carbon dioxide, which is responsible for the bubbles you may see forming on the surface of your starter.
It's fascinating to think about the complex ecosystem that develops within your sourdough starter. The wild yeast and bacteria work together in a symbiotic relationship, with the yeast producing carbon dioxide and alcohol, while the bacteria consume the alcohol and produce lactic acid, giving the sourdough its tangy flavor.
Let the mixture sit undisturbed for 24 hours to allow the fermentation process to begin. This initial stage is crucial for establishing a strong and healthy starter.
After 24 hours, you may notice small bubbles forming on the surface, indicating that fermentation has begun. It's time to move on to the next step.
Daily Feeding and Maintenance
For the next few days, you will need to "feed" your sourdough starter to ensure its continued growth and activity. Discard (or use in baking) about half of the starter and replenish it with equal parts flour and water, again by weight.
Feeding your starter daily helps remove any potential buildup of harmful bacteria and allows the beneficial yeast and bacteria to thrive. It's like giving your starter a fresh meal to keep it happy and healthy.
As you continue feeding your starter, you will notice its aroma evolving and becoming more pronounced. The initial smell of raw flour will transform into a delightful tangy scent, reminiscent of freshly baked bread.
Observing the rise and fall of your starter can be quite exciting. It's a sign that the yeast and bacteria are working harmoniously, creating gas bubbles that cause the starter to expand and contract. This activity indicates that your starter is maturing and becoming more active.
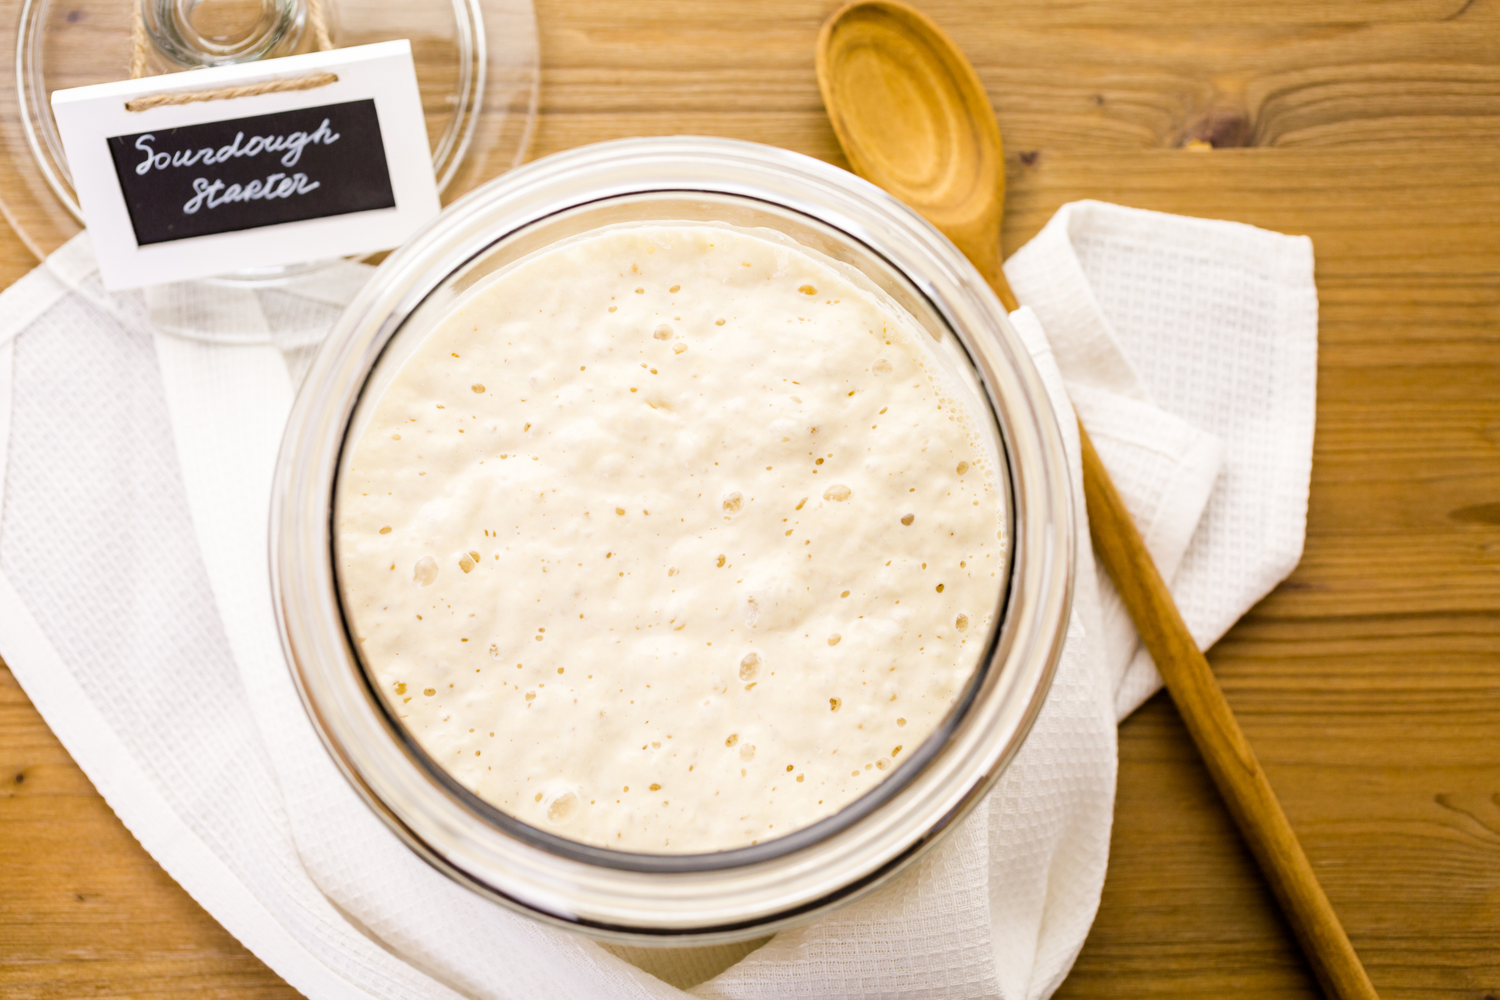
After about a week of daily feedings, your sourdough starter should be ready to use in your favorite bread recipes. It should have a pleasant tangy aroma and a bubbly, frothy appearance.
Remember, sourdough baking is a journey that requires patience and experimentation. Each sourdough starter is unique, with its own distinct flavors and characteristics. Enjoy the process of nurturing and using your homemade starter to create delicious bread that is truly one-of-a-kind.
Troubleshooting Common Sourdough Starter Problems
Having a sourdough starter can be an exciting and rewarding experience. However, like any living organism, it can sometimes encounter problems that require troubleshooting. In this guide, we will explore two common issues that sourdough enthusiasts often face and provide you with practical solutions to overcome them.
Dealing with Hooch Formation
One day, as you eagerly check on your sourdough starter, you notice a layer of dark liquid on its surface. Don't panic! This phenomenon is known as hooch formation and is a natural occurrence in sourdough starters. Hooch is a sign that your starter is hungry and in need of feeding.
So, what should you do when you encounter hooch formation? The solution is simple. Grab a spoon and gently stir the hooch back into the starter. By doing so, you are redistributing the liquid and incorporating it back into the mixture. Once you've stirred the hooch, proceed with your regular feeding routine.
Feeding your starter regularly is crucial for its health and vitality. It provides the necessary nutrients for the wild yeast and bacteria to thrive, resulting in a robust and active starter. So, the next time you spot hooch on your sourdough starter, remember that it's just a friendly reminder to give it some nourishment.
Reviving a Neglected Starter
Life can sometimes get in the way of our baking plans. Whether it's a busy schedule, a vacation, or simply forgetting about your sourdough starter, neglecting it is not the end of the world. Even if your once vibrant starter develops a layer of grayish liquid or a dark crust on top, there's still hope to revive it.
To bring your neglected starter back to life, start by discarding a significant portion of it, leaving only a small amount behind. This step is essential to remove any potential buildup of harmful byproducts that may have accumulated during the neglect period. Once you've discarded the excess, it's time to give your starter some tender loving care.
Begin by feeding your starter regularly for a few consecutive days. This means discarding a portion of the starter and replenishing it with equal parts of flour and water. The consistent feedings will gradually restore the balance of microorganisms in your starter, allowing it to regain its vitality and aroma.
During the revival process, it's important to be patient. It may take a few days or even a week for your starter to fully recover, depending on its condition. Keep a close eye on its progress, noting any changes in appearance, smell, or activity. With time and proper care, your neglected starter will once again become a reliable companion in your sourdough baking adventures.
Remember, sourdough starters are resilient and forgiving. They have been passed down through generations, surviving and thriving in various conditions. So, don't be discouraged if you encounter problems along the way. With a little troubleshooting and a lot of love, you'll be back on track to creating delicious sourdough bread in no time.
Storing Your Sourdough Starter
Short-Term Storage Tips
If you need a short break from baking or want to slow down the fermentation process, you can store your sourdough starter in the refrigerator. Before refrigerating, feed your starter and leave it at room temperature for a couple of hours to ensure it's active and well-fed. Transfer it to a clean jar and seal it tightly. Feed the starter once a week with equal parts flour and water to maintain its health.
When you're ready to resume baking, remove the starter from the refrigerator. Allow it to come to room temperature and feed it for a few consecutive days to reactivate its fermentation activity.
Long-Term Storage Solutions
If you plan on taking an extended break from baking or want to preserve your unique sourdough starter for future generations, consider drying or freezing it.
To dry your starter, spread a thin layer of it on a silicone baking mat or parchment paper. Once it has completely dried, break it into small pieces and store them in an airtight container or zip-top bag. To revive the dried starter, simply rehydrate it with warm water and flour and follow the regular feeding process.
To freeze your starter, transfer a small portion to a freezer-safe container. Thaw the frozen starter in the refrigerator overnight, then bring it to room temperature, and feed it generously for a few consecutive days to restore its vigor.
With this step-by-step guide, you have the knowledge and tools to embark on a sourdough starter journey. Enjoy the process, experiment with different flours, and savor the delightful flavors that come from your own homemade sourdough creations. Happy baking!
Leave a comment
All comments are moderated before being published.
This site is protected by hCaptcha and the hCaptcha Privacy Policy and Terms of Service apply.