


Shop Grains Here
Grains are an essential part of our diet and have been for thousands of years. However, the way we consume grains has changed over time, with modern processing methods often removing many of the nutrients and beneficial components. One way to counteract this is by sprouting your grains. Sprouting involves soaking and rinsing grains until they begin to sprout, unlocking a host of health benefits. In this article, we'll cover how to sprout your grains, the benefits of sprouting, and some delicious recipes to try.
What is Sprouting?
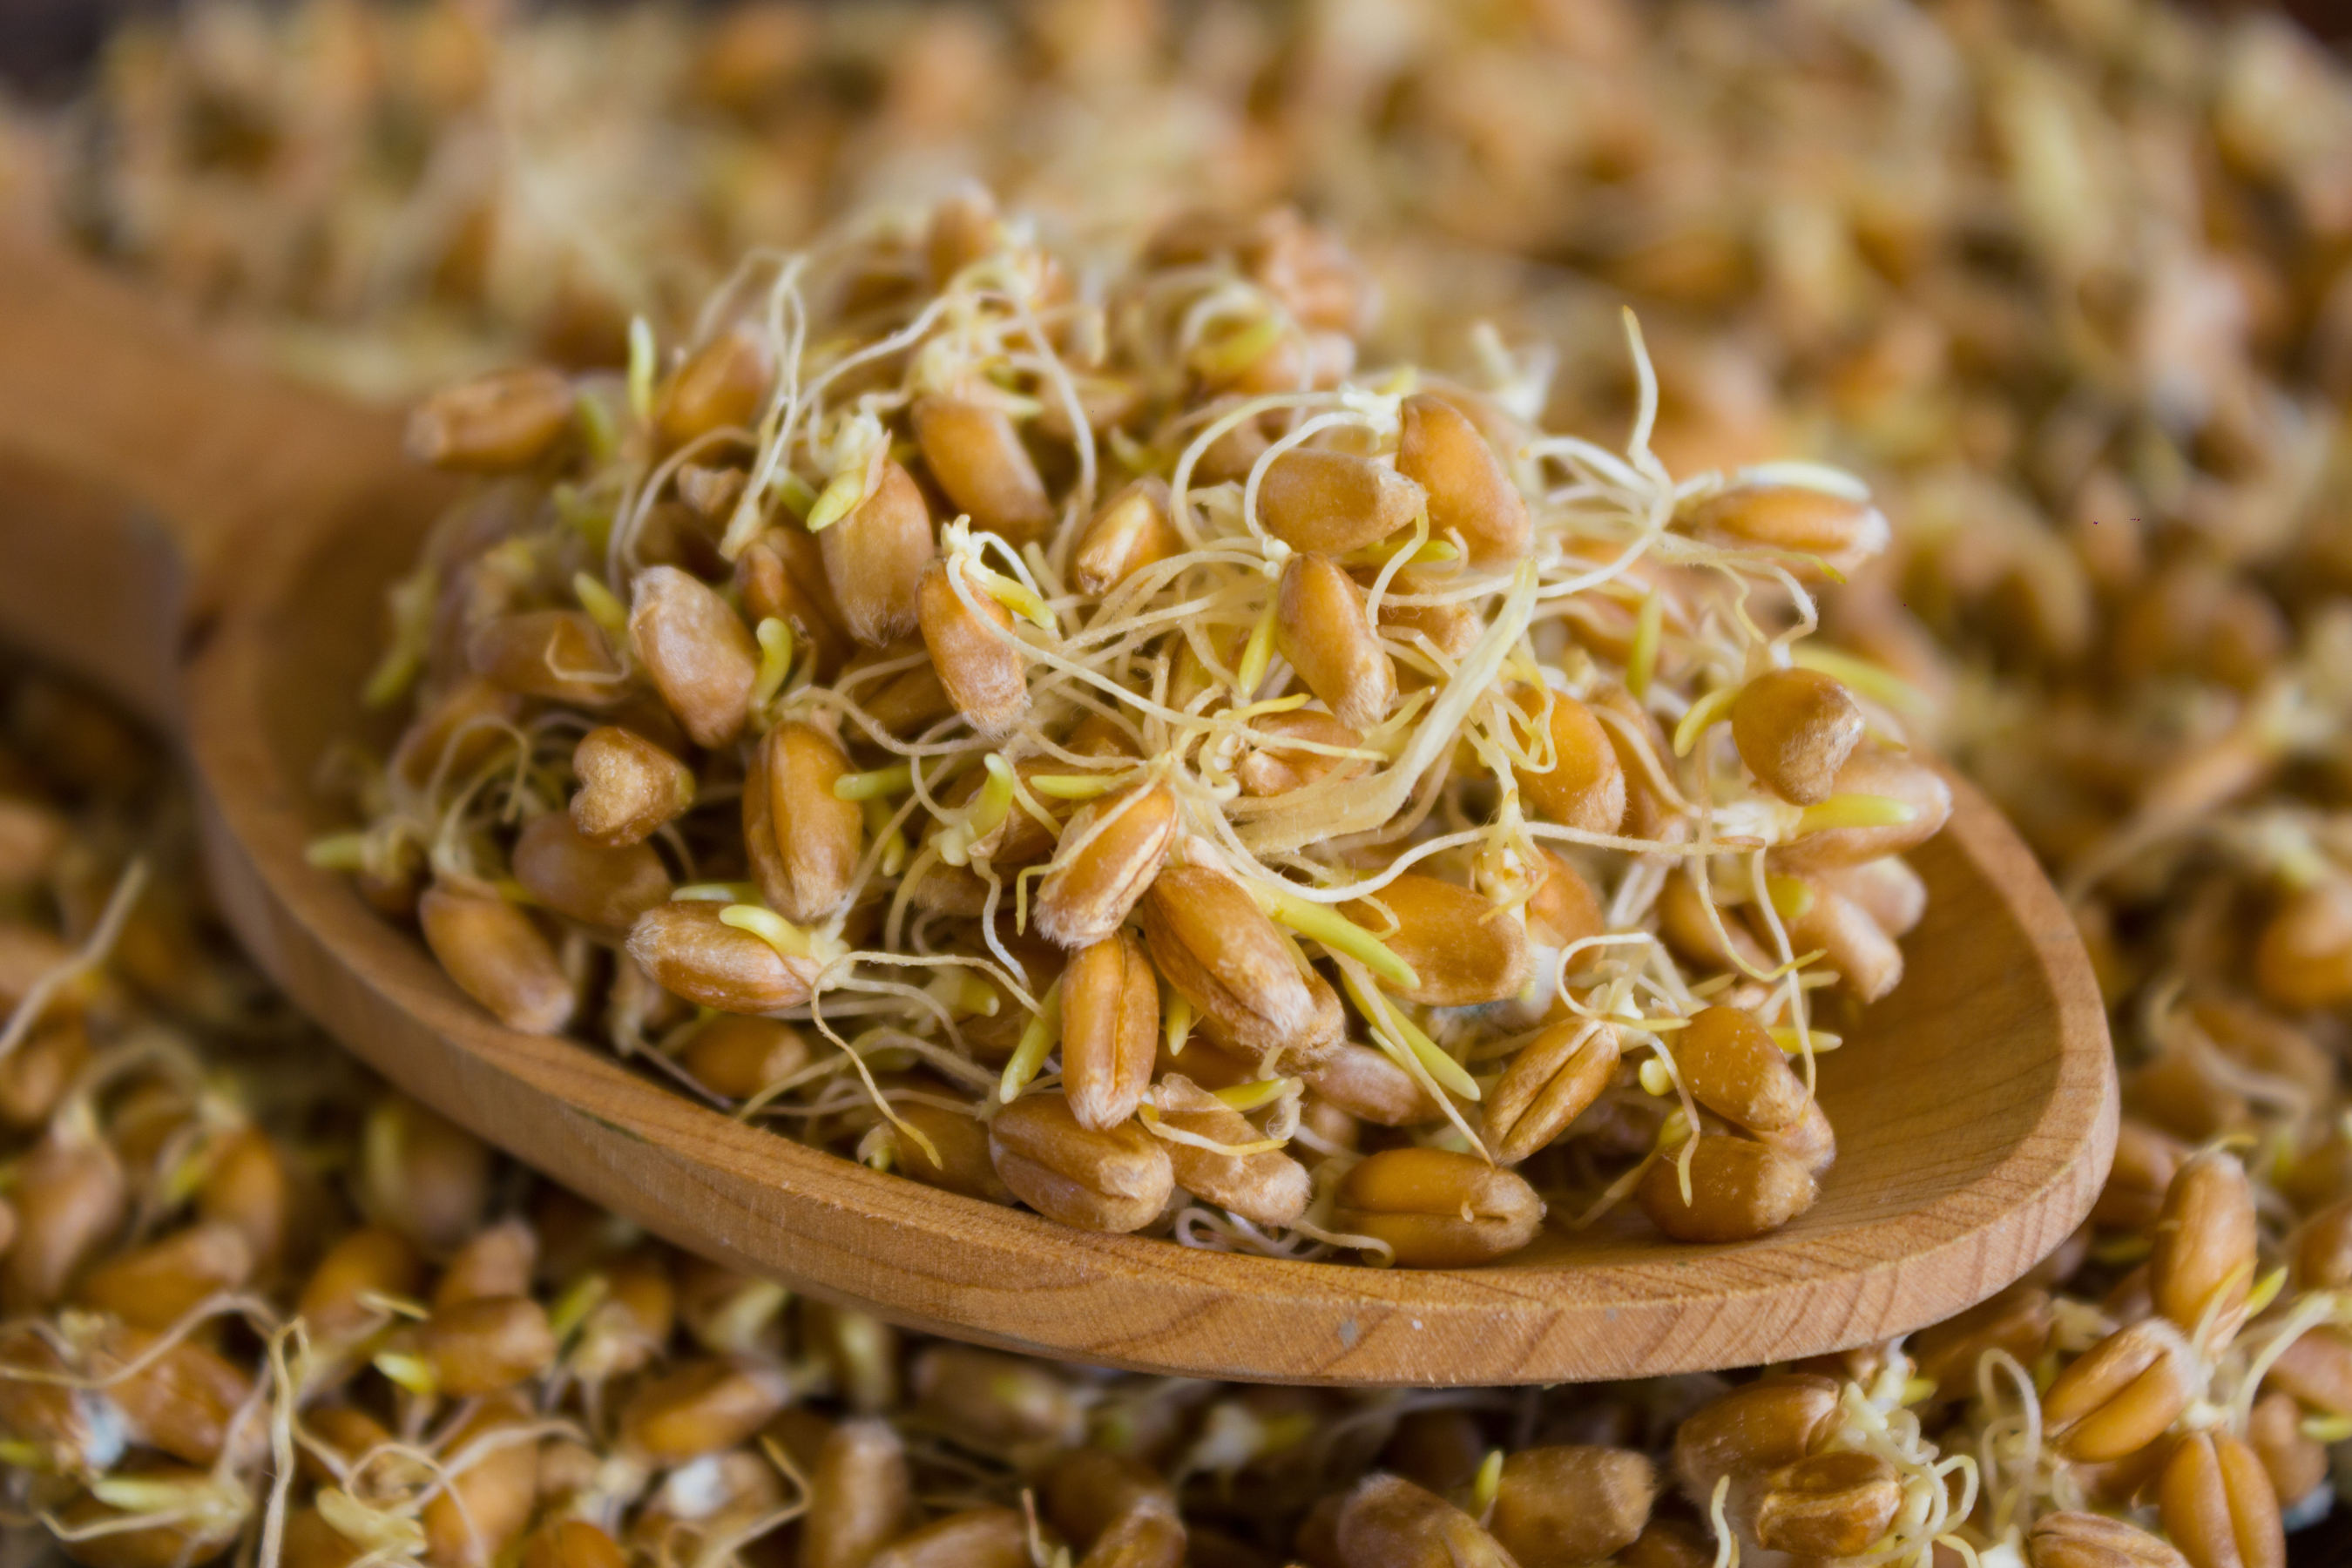
Sprouting is the process of soaking grains in water until they begin to sprout. During this process, the grains become easier to digest, and their nutrient content increases. This is because the sprouting process breaks down complex carbohydrates and proteins, making them more readily available to our bodies.
The sprouting process involves several stages. First, the grains are soaked in water for several hours or overnight. Then, they are rinsed and drained, typically twice a day, until they begin to sprout. The length of time it takes to sprout grains varies depending on the type of grain and environmental factors, such as temperature and humidity. However, most grains will sprout within 1-3 days.
Once the grains have sprouted, they can be used immediately, stored in the refrigerator for a few days, or dehydrated for longer storage.
Why Sprout Your Grains?
- Increased Nutritional Value: Sprouting grains can significantly increase their nutrient content. When grains are sprouted, enzymes are activated that break down phytic acid, a compound that can inhibit the absorption of minerals like zinc, iron, and calcium. This means that sprouted grains are more nutrient-dense than non-sprouted grains. Sprouted grains are also higher in vitamins, particularly vitamin C and B vitamins. For example, sprouted wheat contains up to 300% more vitamin C and 75% more vitamin B6 than non-sprouted wheat.
- Improved Digestibility: Sprouting grains can also improve their digestibility. During the sprouting process, complex carbohydrates and proteins are broken down, making them easier to digest. This can be particularly beneficial for people with digestive issues or sensitivities to gluten.
- Versatility: Sprouting grains opens up a world of culinary possibilities. Sprouted grains can be used in a variety of dishes, from salads and soups to bread and baked goods. They have a nuttier, sweeter flavor than non-sprouted grains, which can add depth and complexity to your dishes.
How to Sprout Your Grains
Now that you know why sprouting your grains is beneficial let's go over how to do it.
- Choose Your Grain: You can sprout a variety of grains, including wheat, barley, oats, quinoa, and rice. When choosing grains to sprout, make sure they are whole, unprocessed grains. Avoid grains that have been heat-treated, as this can affect their ability to sprout.
- Soak the Grains: The first step in sprouting grains is to soak them. Place the grains in a large bowl and cover them with water. Use about 2-3 times as much water as grains. Soak the grains for several hours or overnight, depending on the type of grain.
- Rinse and Drain: Once the grains have soaked, drain off the water and rinse the grains thoroughly. Then, place the grains in a sprouting jar or other container with a screen lid. Rinse the grains twice a day, draining off any excess water.
- Wait for the Grains to Sprout: Continue to rinse and drain the grains twice a day until they begin to sprout. The length of time it takes for the grains to sprout will vary depending on the type of grain and environmental conditions. Generally, most grains will sprout within 1-3 days.
- Use or Store the Sprouted Grains: Once the grains have sprouted, they can be used immediately, stored in the refrigerator for a few days, or dehydrated for longer storage. To dehydrate sprouted grains, spread them out in a single layer on a baking sheet and dry them in a low-temperature oven or dehydrator.
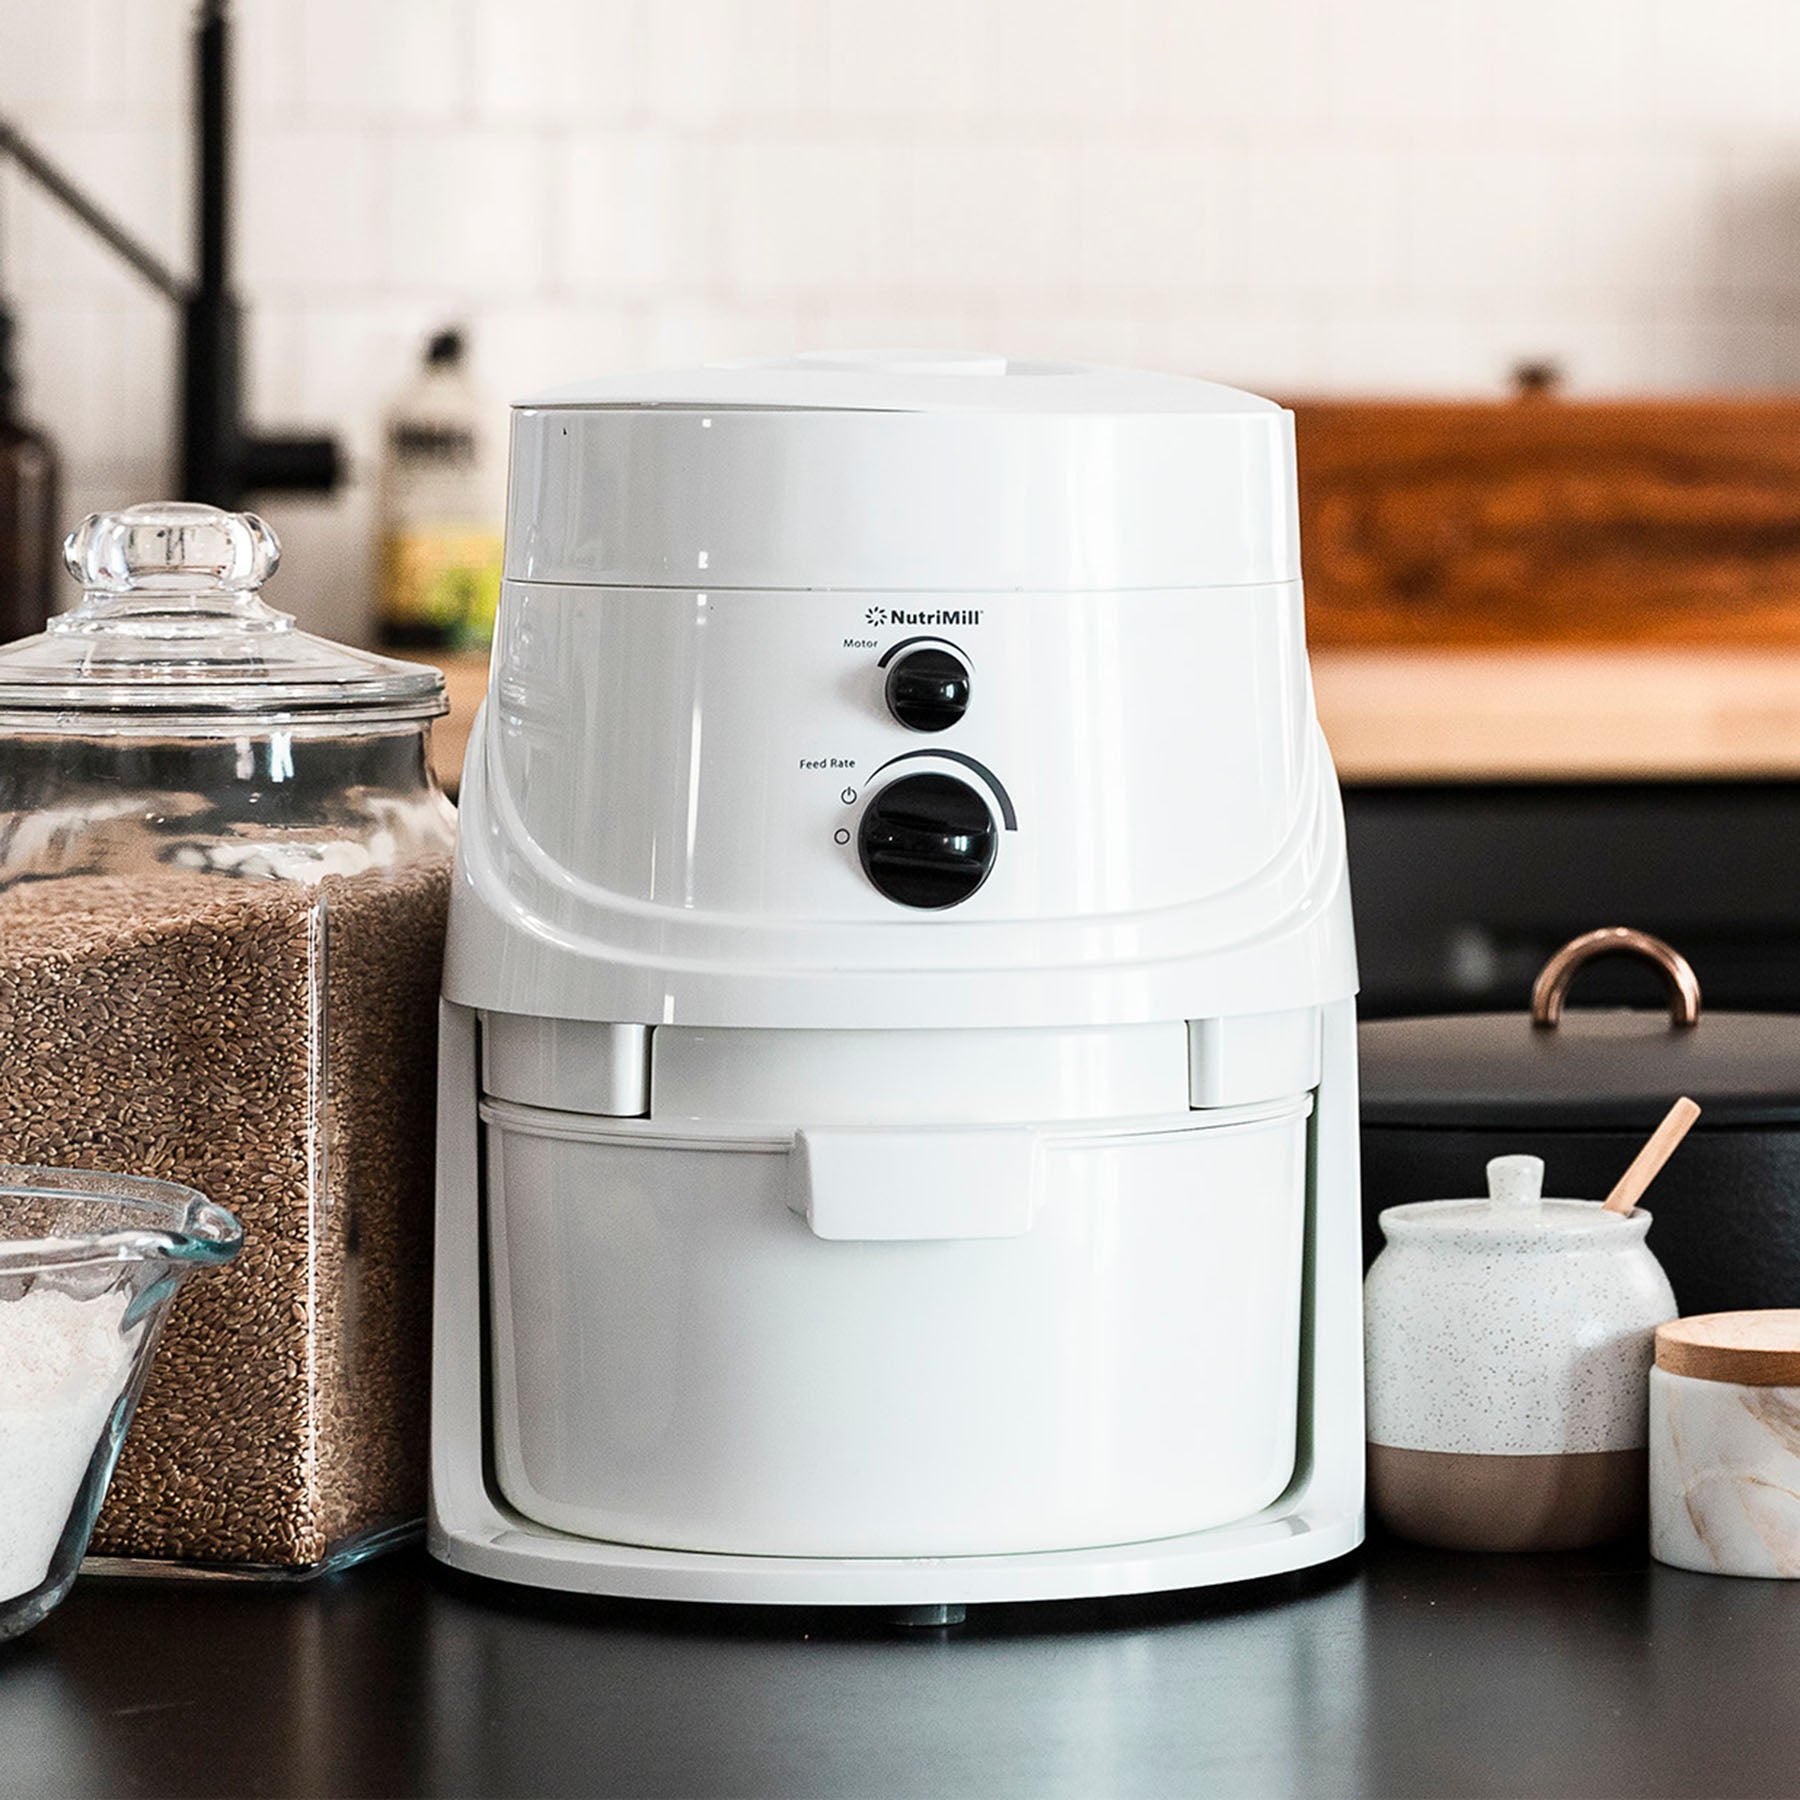
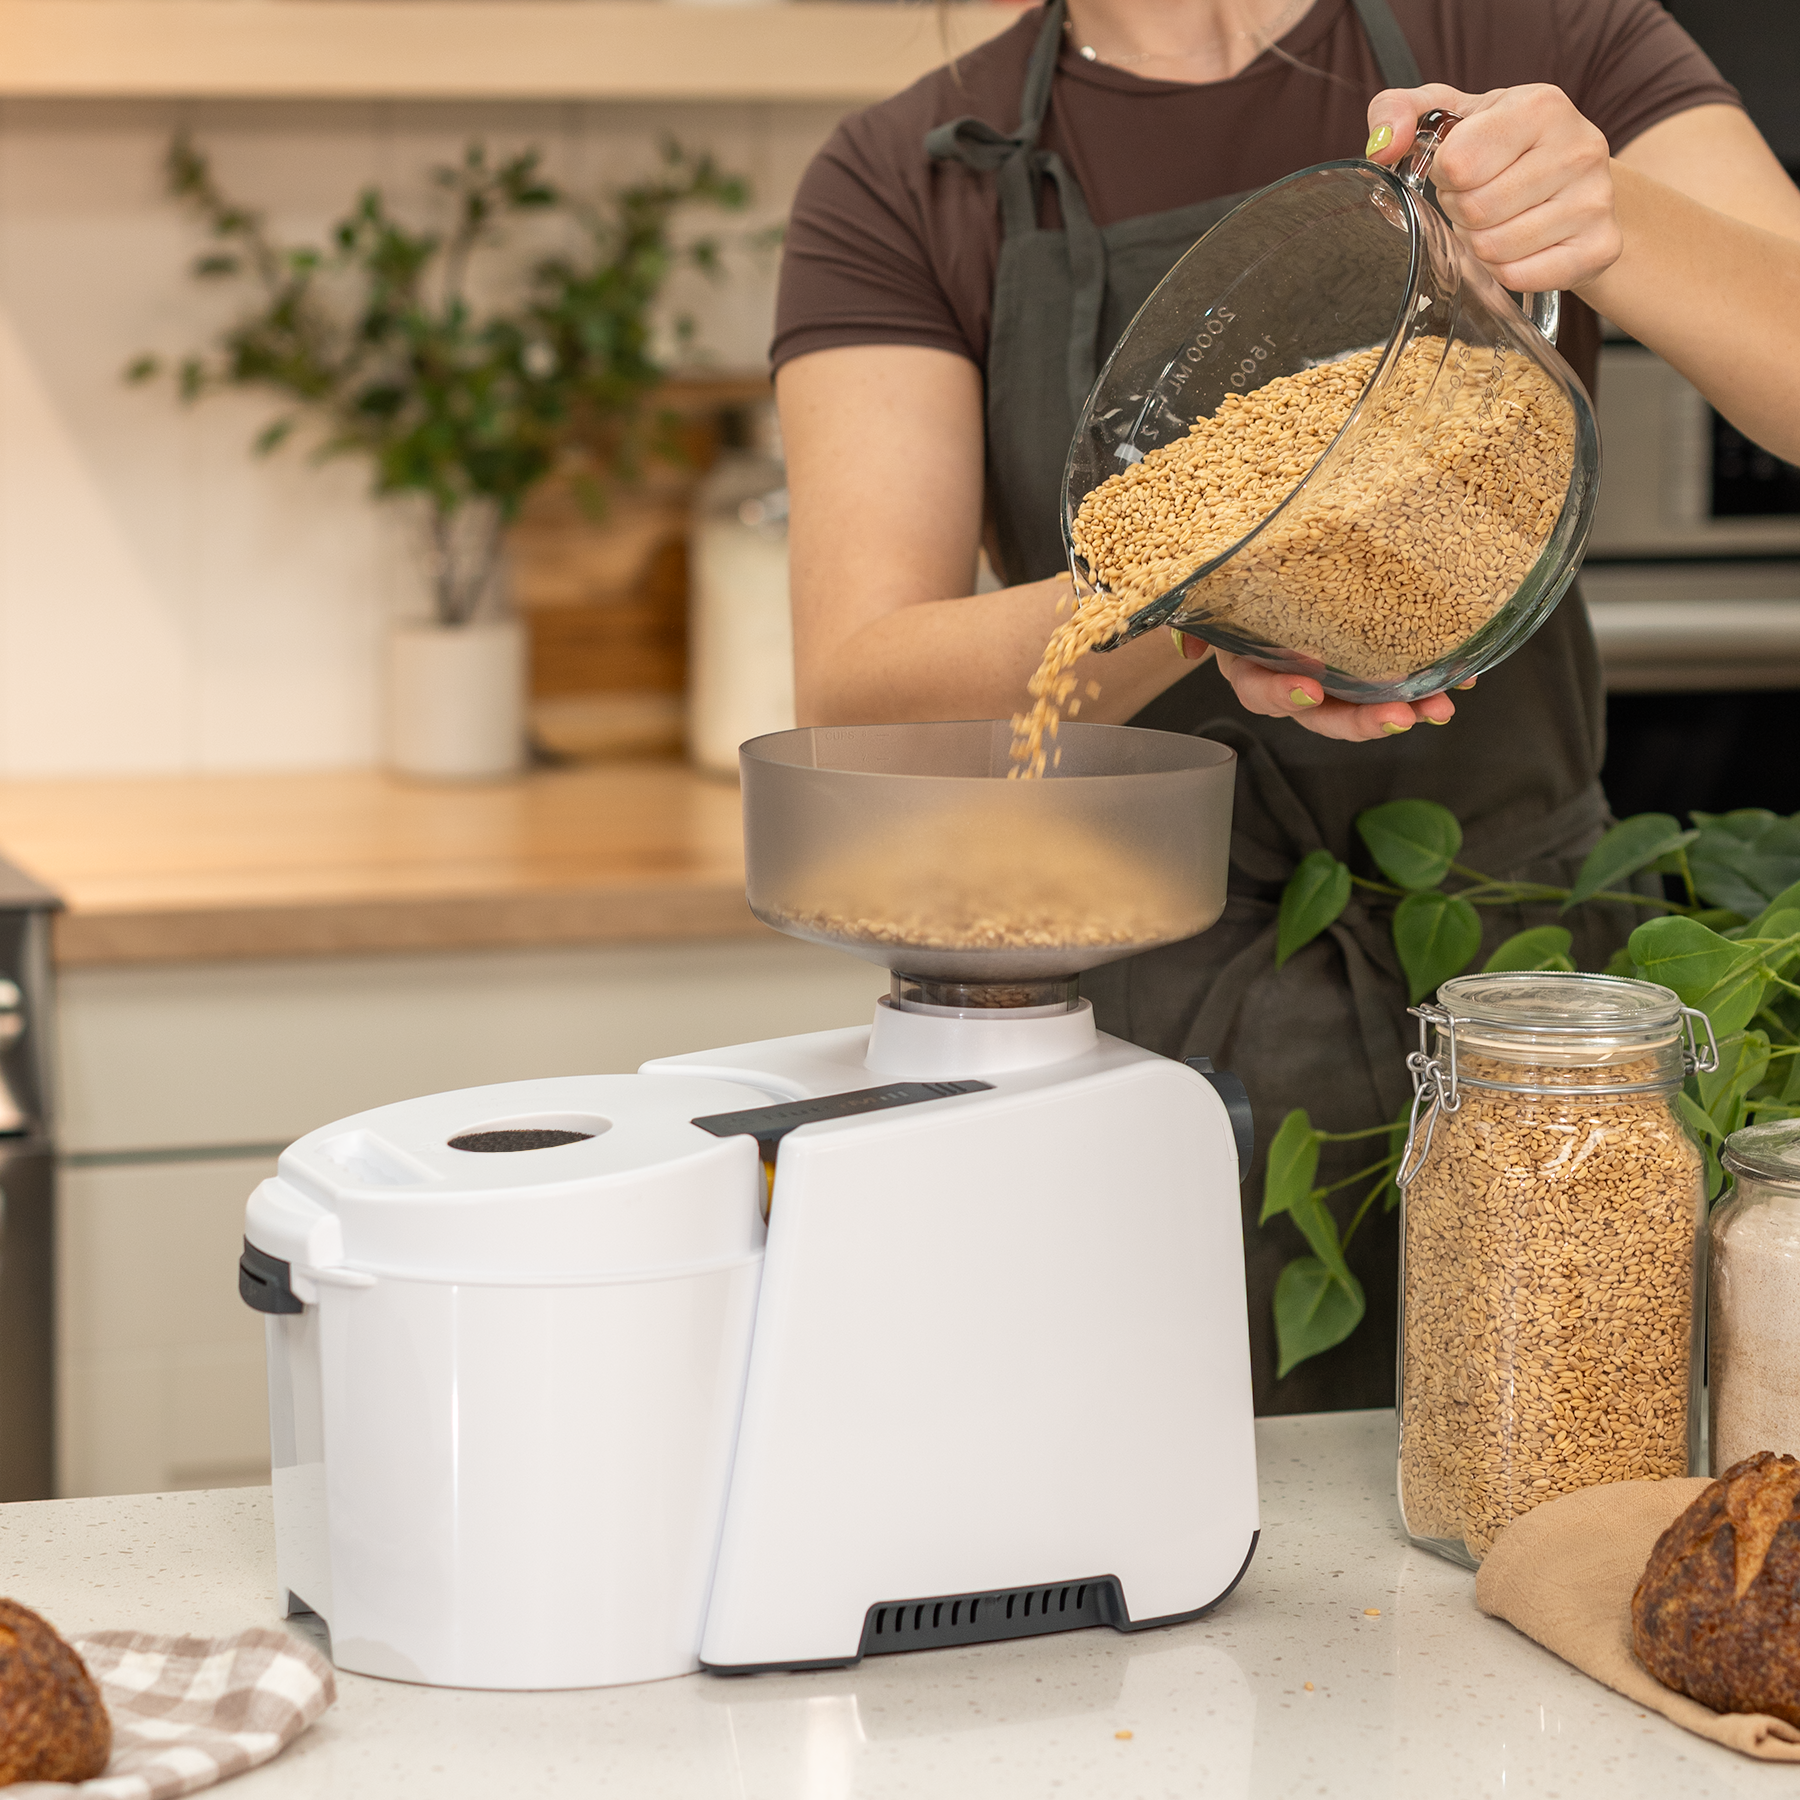
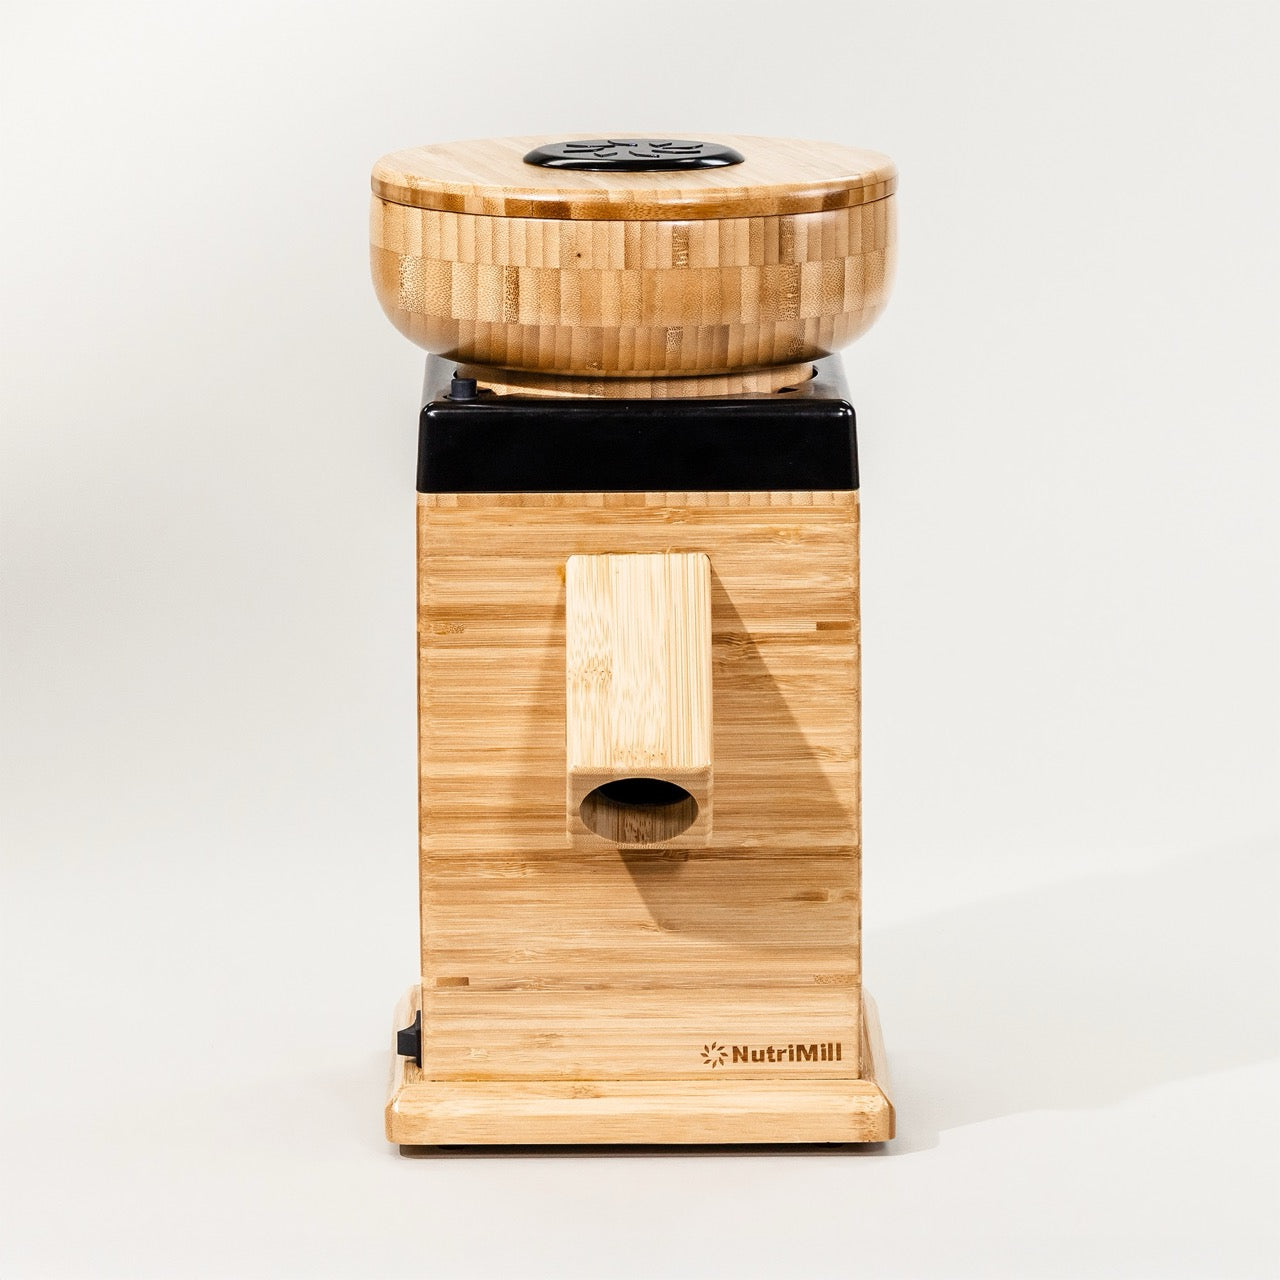
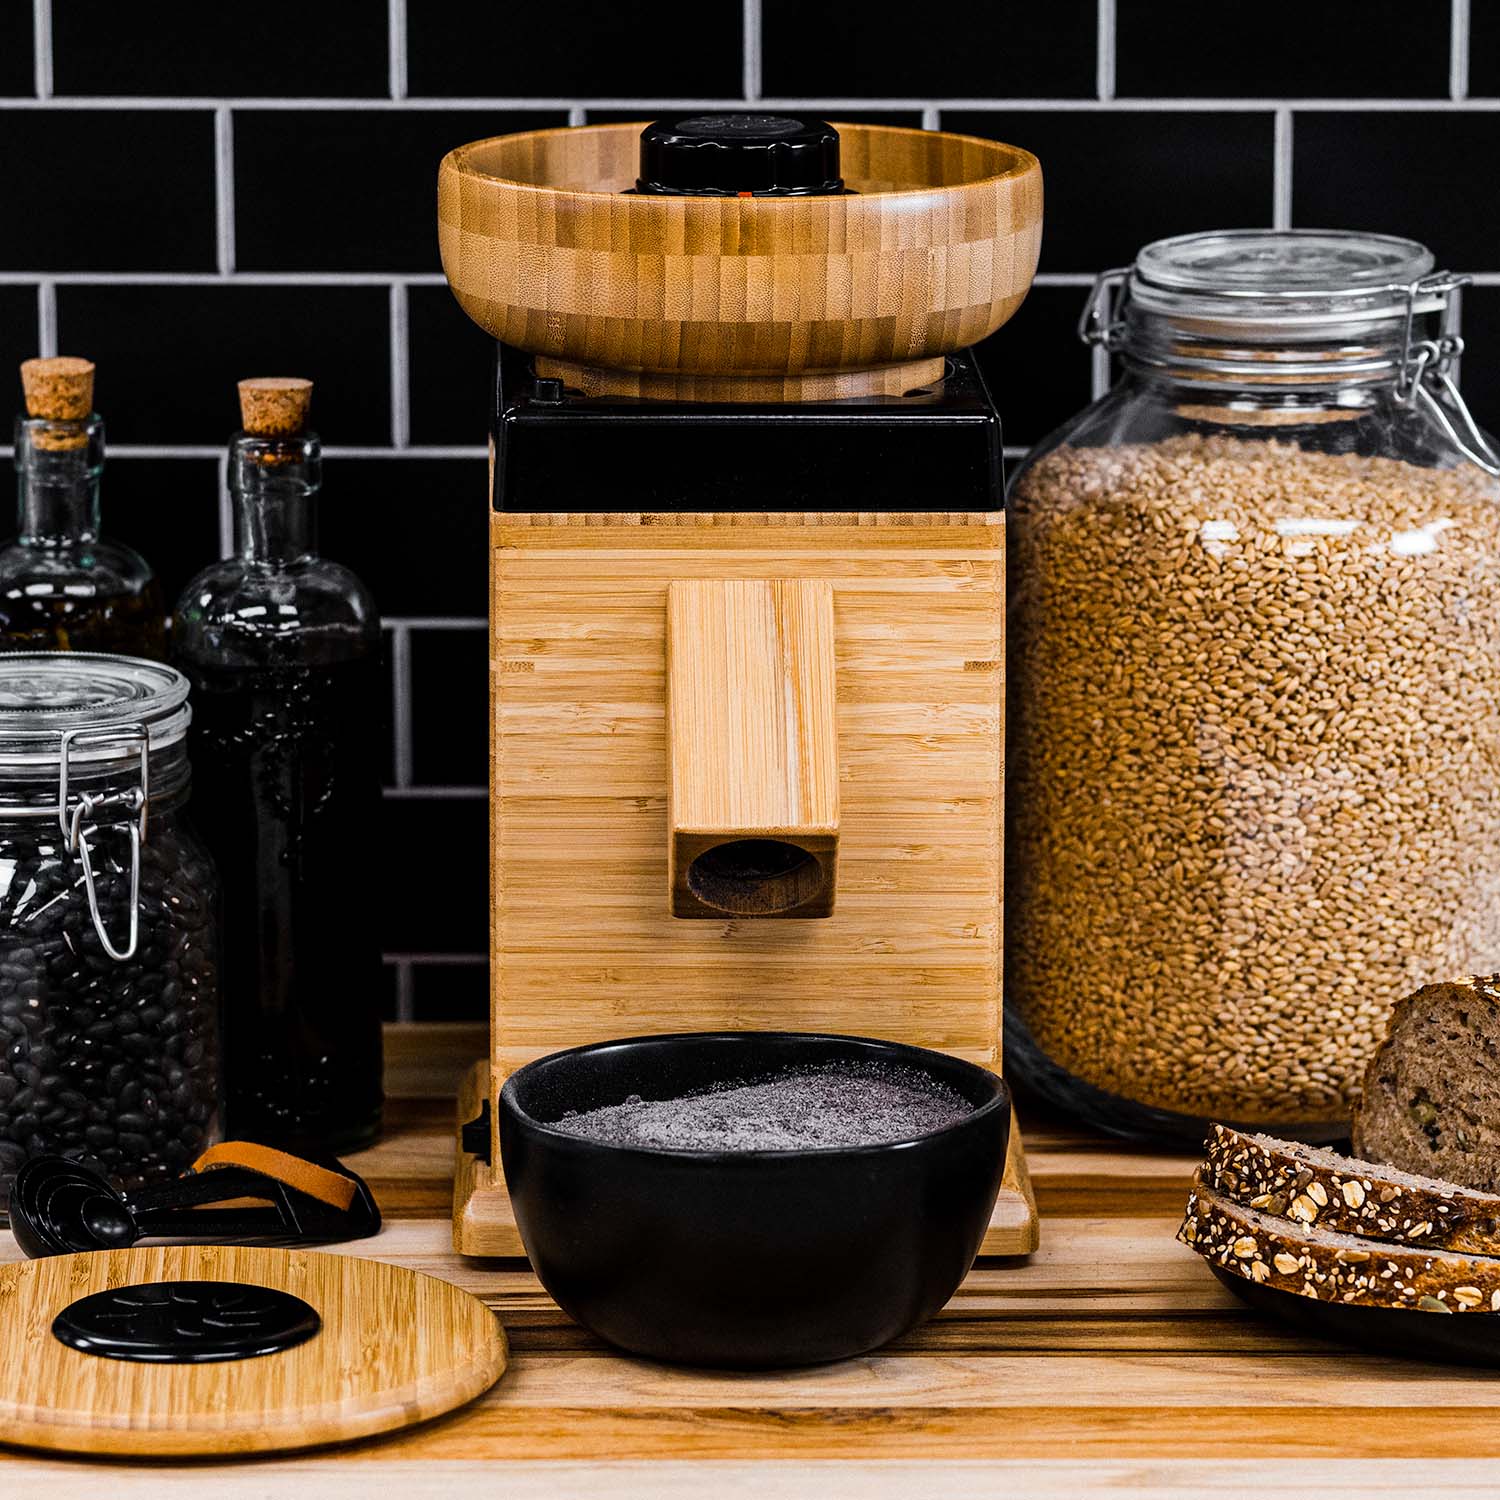
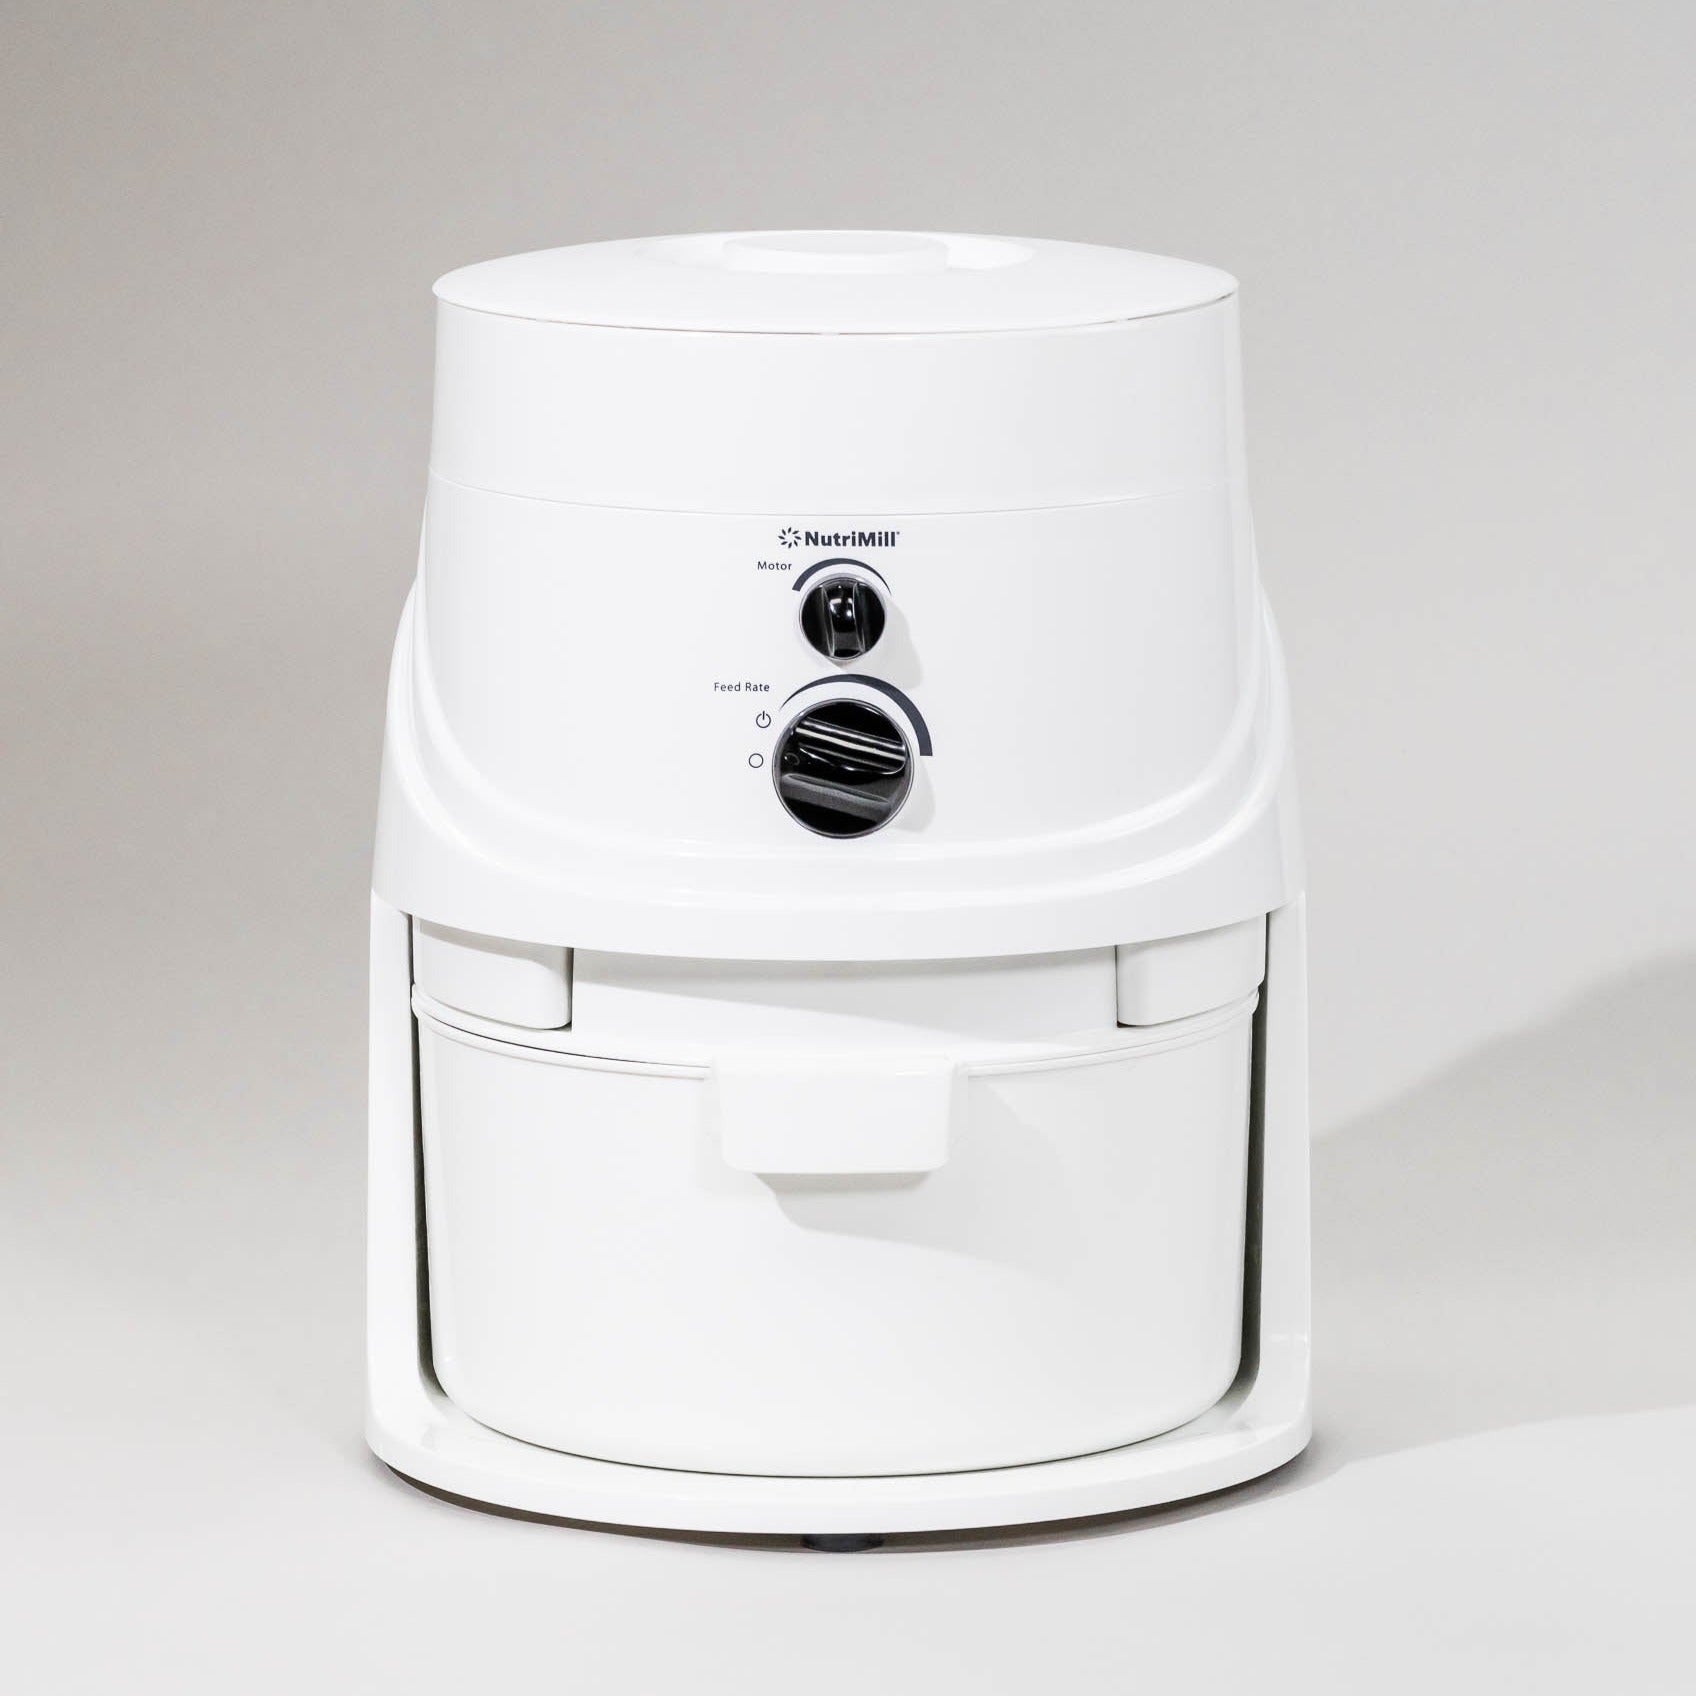
Sprouting grains is a simple and effective way to increase their nutritional value, improve their digestibility, and add variety to your diet. By following these simple steps, you can start sprouting your grains at home and enjoy the benefits of this ancient practice. However, if you want to mill the sprouted grains in a Nutrimill Harvest or Classic Grain Mill, there is one additional step you need to take: drying.
Once your grains have sprouted, it's important to dry them thoroughly before milling them. This is because the excess moisture in the sprouted grains can cause the mill to clog or produce flour that is too wet. Drying the sprouted grains will ensure that the mill can process them efficiently and produce high-quality flour.
To dry your sprouted grains, spread them out in a single layer on a baking sheet or dehydrator tray. Use a fan or a low-temperature oven or dehydrator to dry them slowly. It's important to dry the grains thoroughly to prevent mold or spoilage. The drying time will vary depending on the type of grain and environmental conditions, but it can take anywhere from 6-24 hours.
Once your sprouted grains are fully dry, you can mill them in your NutriMill Harvest or Classic Grain Mill to produce fresh, nutritious flour. The NutriMill mills the grains quickly and efficiently, producing fine or coarse flour depending on your preference.
Conclusion
Sprouting your grains is a simple and effective way to improve their nutritional value and digestibility. If you plan to mill your sprouted grains in a NutriMill Harvest or Classic Grain Mill, make sure to dry them thoroughly beforehand to ensure the best results. With these tips, you can enjoy fresh, nutritious flour that's perfect for all your baking needs.

